Important information: Please note that the federal invoice submission portals, ZRE and OZG-RE, will be consolidated by summer 2025. Following the consolidation, only the OZG-RE will be operated as the sole federal invoice submission portal. The operation of the ZRE will be discontinued as of 31 December 2025. Suppliers will receive all relevant information and the required details for future invoicing directly from the authorities to which they submit invoices. For further details, please refer to this article.
Web submission
To create an e-invoice by this method, you enter the invoice information manually within the submission portal you are using to submit your e-invoice.
The web submission method and the upload method are recommended if you do not have your own software for creating e-invoices or do not need to submit large numbers of e-invoices.
Creating an e-invoice by the web submission in the ZRE portal
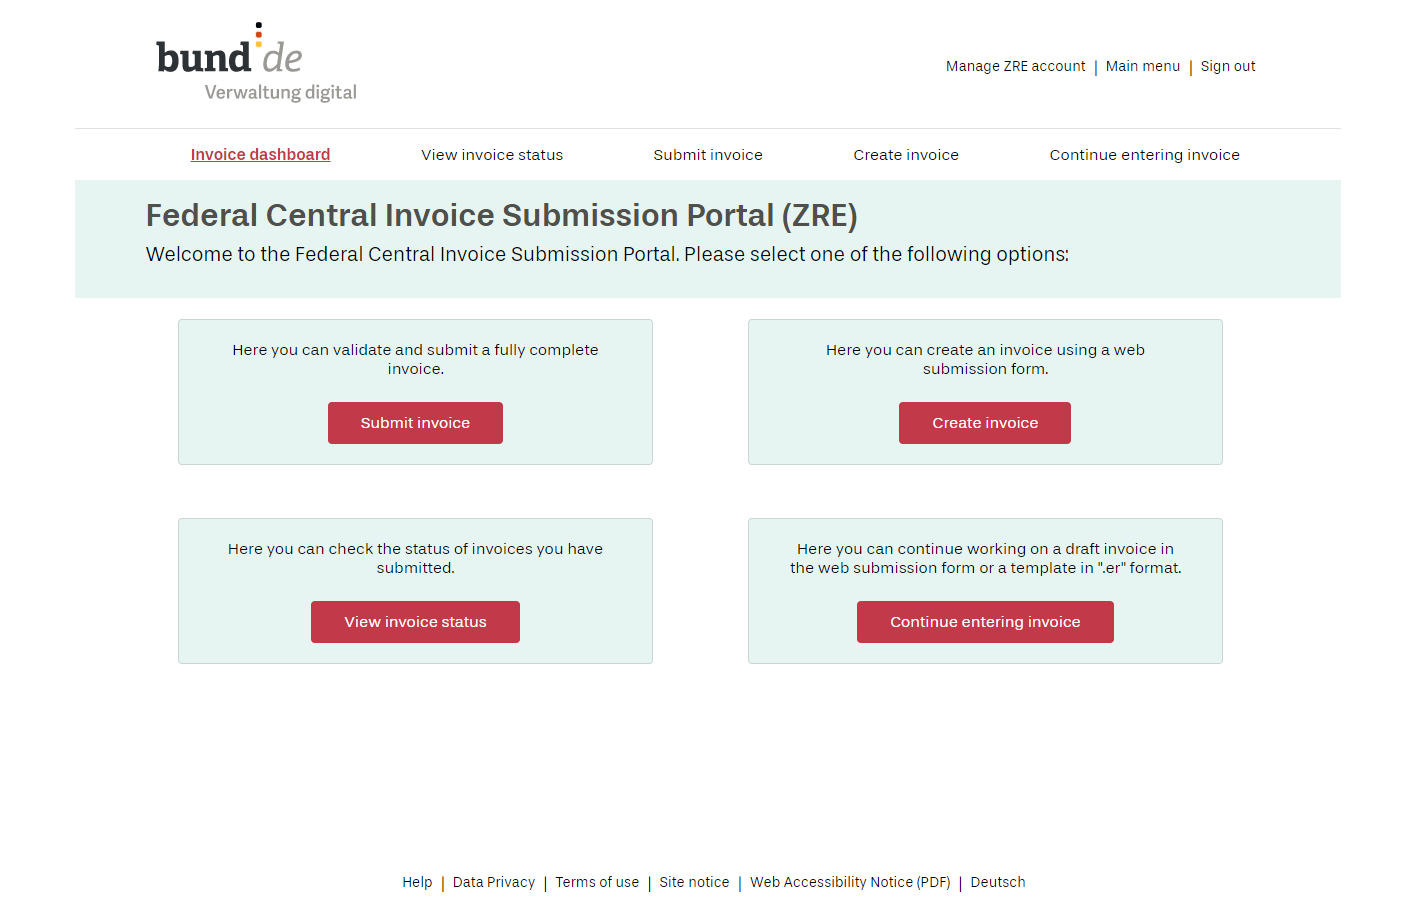
To do this in the ZRE submission portal, you must first sign in (having already registered with the portal), then go to the invoice dashboard and click “Create invoice”. You can then enter your invoice data.

Illustration: Invoicing dashboard of the Federal Central Invoice Submission Portal (ZRE)
If you need to create and submit recurring invoices manually, you can do this using templates. To do this, download a draft version (an “.er” file) of the invoice you want to use as a template, and save it to your computer. Please note that “.er” files, unlike “.xml” files, are not in a human-readable format and therefore should not be opened. When you are ready to submit your next recurring invoice (or a similar invoice), go to the invoice dashboard of your ZRE account and click “Continue entering invoice”. A page will then open to display a drag-and-drop area in which you can place your “.er” file. Alternatively, you can click on the area within the red line; this will open your file explorer, allowing you to navigate to the “.er” file stored on your computer and select it. Once you have uploaded your draft invoice, you can edit it as necessary, run a validation check on it, and submit it.
Creating an e-invoice by the web submission in the OZG-RE portal
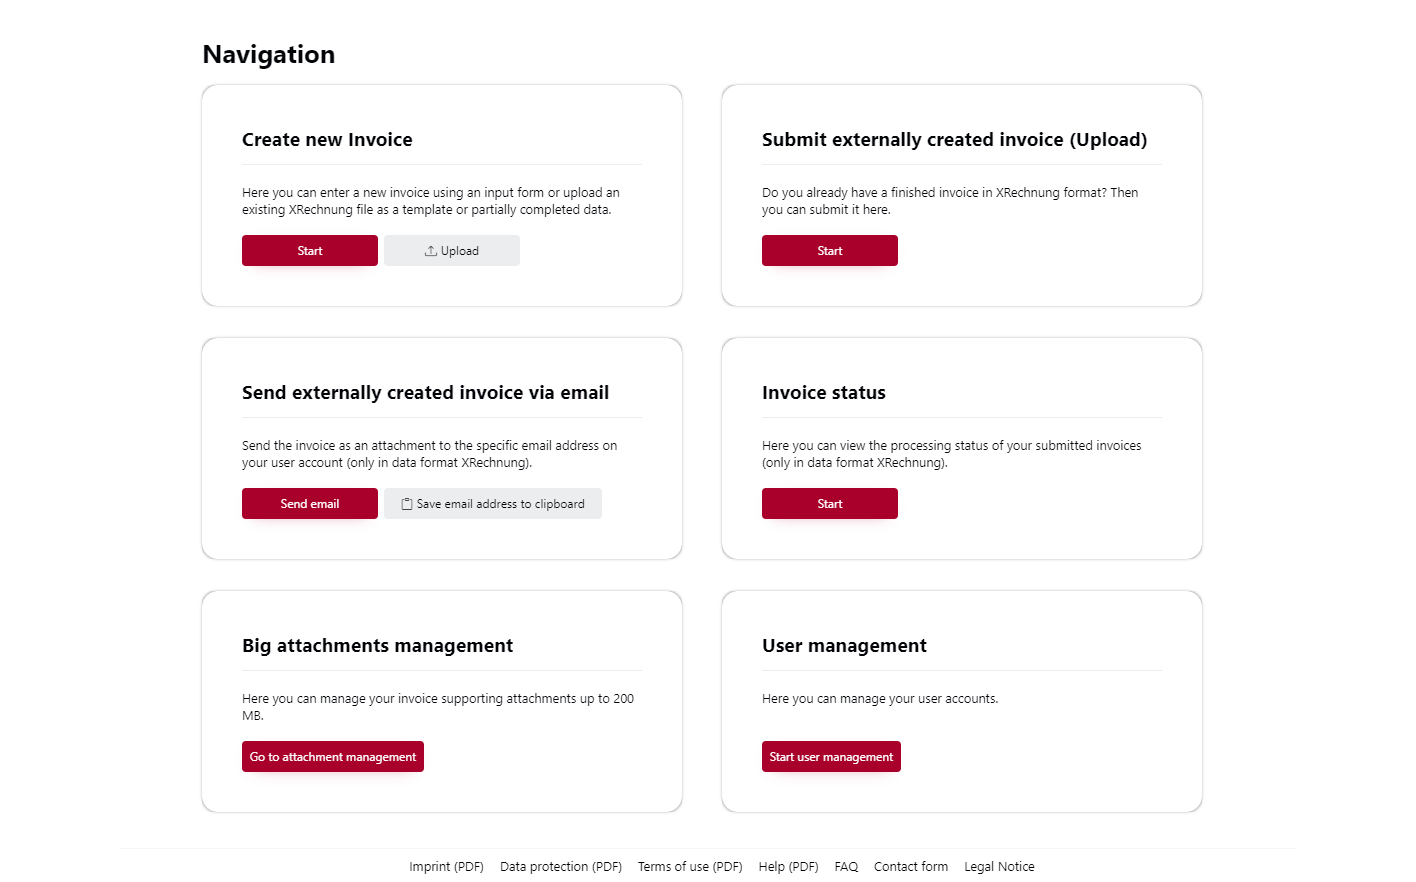
To create an e-invoice by web submission in the OZG-RE portal, you must first sign in (having already registered with the portal). Then click the “Start” button in the box titled “Create new invoice”. You can then enter your invoice data.

Illustration: Navigation dashboard of the OZG-RE portal
If you need to create and submit recurring invoices manually, you can use templates for this purpose. To do this, go to the “Invoice status” page and download an e-invoice you have already created and submitted manually, and which you want to use as a template. Save this invoice to your computer. When you are ready to submit your next recurring invoice (or a similar invoice), go to the dashboard (homepage) and click the “Upload” button in the box titled “Create new invoice”. You can then select the e-invoice you downloaded earlier and use it as a template. Then all you need to do is re-enter the buyer reference (Leitweg-ID), the dates and payment information. The invoice lines and amounts remain the same as in the template you filled out in the web submission form.
Further information
Further details on the steps involved in transmitting e-invoices by web submission can be found in the ZRE and OZG-RE operating guides, available in the library .

